How Far Should a Projector Be from the Screen?
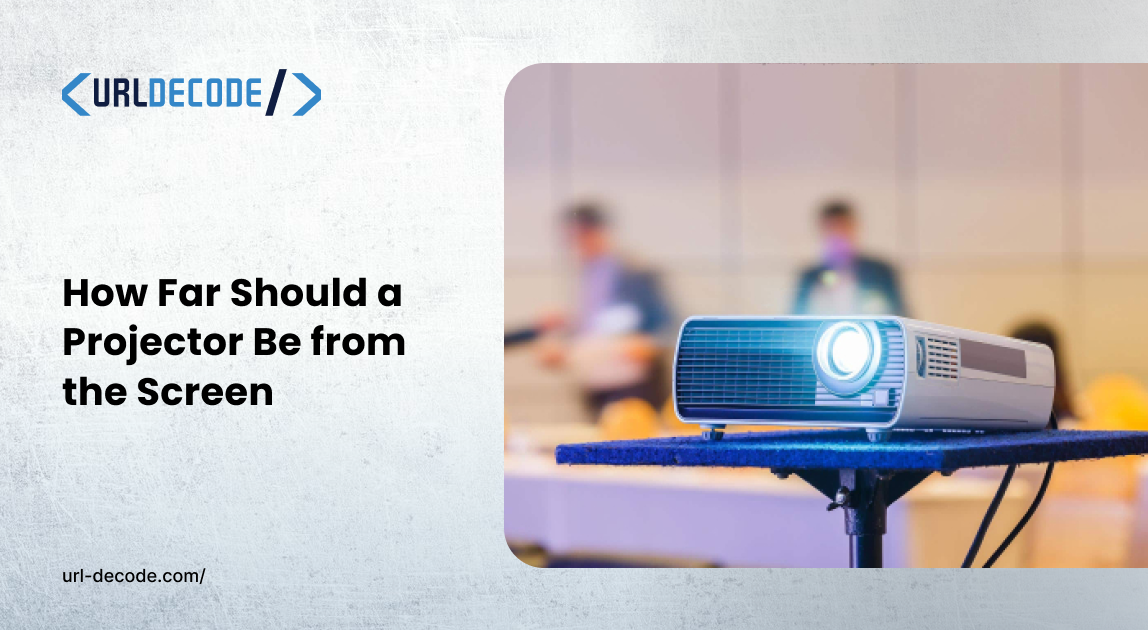
Setting up a projector seems simple at first: mount it, point it at a screen, and you’re ready to go. But anyone who has tried this knows it’s not that straightforward.
The first and most important question is: how far from the screen should the projector be? If you are incorrect with this measurement, you’ll have an image that is either too small, distorted in scale, or unclear.
Distance affects image size, brightness, clarity, and comfort. If you mount the projector too close, it will cause distortion. But if you mount it too far back, it will wash out the picture and make it difficult to see the details.
There are also several options with different projectors, such as short throw, standard throw, and long throw. Yet again, standing at it, the setup will depend on picking the proper distance for your room(s) to maximize your visual experience of crisp and balanced viewing for everybody.
From throw ratios to examples, this guide provides the necessary information about projector distance to screen so that you can set up your system for a better-than-quality picture. It also informs you about the projector throw distance calculator to help you set up your AV system optimally.
Key Takeaways:
- The throw ratio helps you decide the distance of the projector from the screen. It is the ratio between the throw distance of the projector and the screen size, which significantly impacts image sharpness.
- Using a projector distance calculator can be a significant time saver. Accurate and easy-to-use measurements for countless room situations, the calculator allows you to measure the projected image without guesswork.
Why Does Projector Distance Matter for Image Quality?
Individuals frequently ask about the distance of a projector from the picture. This is significant to the picture. When the image is too close, the edges may warp or get clipped, and if it is too dim, the image will have less definition and will be less precise. Watching from that distance may be too hard.
The distance from the screen to the projector affects the image’s sharpness and clarity, as well as the ease of viewing. With careful observation, one will spot that difference!
Another aspect to consider is the distance from the front of the projector screen. We must consider the distance between the projector lens and the screen, along with the throw ratio, and the distance from the viewer’s sitting position. A screen that looks great from the front row may lose its impact from the back row.
Attaining this balance ensures all people in the room, regardless of their station, see a crisp, bright, detailed image. Therefore, knowing projection throw distance and being intentional about early placement planning is the bedrock of a fantastic movie-watching experience.
What Is Projector Throw Distance and How Does It Work?
For now, you should first understand a basic specification: projection throw distance. Simply put, throw distance is the distance from the projector lens to the projection screen. It also determines the projection image size.
Manufacturers usually provide a throw ratio to help in determining the throw distance. You can calculate it using the formula:
Throw ratio = Throw Distance/Screen Width
For example, you must place it approximately 200 inches or roughly 16 feet from the screen if a projector has a throw ratio of 2.0 and the screen is 100 inches wide.
Not all projectors work the same way, which is why this matters. A short-throw projector distance needs a few feet of space to produce a large picture.
Hence, it is ideal for smaller rooms or setups where you cannot place the projector far back. Standard and long-throw models are suitable for all areas, ranging from mid-size to large areas.
While you may have experienced the process of trial and error before this, having the throw distance will provide you with a starting point to gauge where to place a projector so that it fits the screen, is adequate for the room, and is suitable for those viewing the image.
What Factors Decide the Best Placement for a Projector?
Locating the ideal place to use a projector is not a general rule - every setup and scenario is different. The place that you use a projector will depend on several moving parts that function together to create a clear and balanced image.
Screen size, resolution, aspect ratio, viewing distance, and the room configuration determine the projector’s preferred setup location. The goal is to adjust these parameters to create an image that is sharp and fills the space, rather than putting the projector in a one-size-fits-all position.
How Does Screen Size Impact Projector Placement?
The projection screen size does more than affect how large the image looks. It also determines how far back you will have to place the projector.
If you choose a larger screen, then you will need to place the unit farther away. However, if you put the projector too close, then the image can get cropped along the edges.
Materials matter too. A screen with higher gain can bounce more light back, letting the projector sit further away. However, it often limits the viewing angle.
How Do Aspect Ratio and Resolution Affect Distance?
Aspect ratio defines the shape of the projected image. There are screens with different aspect ratios, such as 16:9, 4:3, and 21:9, and each one changes the “feel” of image placement. If your projector doesn’t match the screen’s ratio, expect blank bars or a stretched image.
Resolution matters too. If viewers are too close to a full HD display, they can see the pixels. When watching a 4K projector, they can move closer and still see detail, providing a little additional freedom and more full involvement and experience, which is especially important for smaller rooms.
Which Type of Projector Fits Different Spaces?
The varying working of projectors is to be noted, with the size of the room being a significant factor in choosing an appropriate one. Thus, it is essential to understand throw types and their use-case environments.
Small spaces, such as classrooms, meeting rooms, or small home theaters, are ideal for short-throw projectors. These projectors are relatively close to the screen, give a large and clear picture, and stop shadows from being cast by a person walking through the beam.
So, anything of a mid-size, like a conference room or an average home theater, should go for a standard-throw projector. This kind implies image placement flexibility, high image quality, and an excellent balance between price and performance.
Long-throw projectors go well with auditoriums, venues, or any outdoor screening. They project a lot farther while still holding their brightness levels. Choosing right means clear visualizations, smooth installations, and happy viewers.
How Can You Calculate the Ideal Projector Distance?
Getting projector distance right comes down to balancing throw ratio, screen size, and room layout. A throw ratio of 1.5 on a 10-foot screen means placing the projector about 15 feet back. This quick calculation keeps images sharp and aligned. Lighting, lens zoom, and screen gain also play a role in fine-tuning placement.
Why Should You Use a Projector Throw Distance Calculator?
While it is easy to apply the equation to derive the throw distance, determining the throw distance for every screen size consumes time. This is where a projector throw distance calculator can speed things along.
You only need to enter your projector, the given screen size, and the room layout. The calculator will offer you some distance to try out. Instead of wasting time experimenting with the projector location, this tool provides convenience while preventing the error of having the projector too close to or too far away from the screen.
What Are Some Real-World Examples of Projector Placement?
AV integrators and designers will be more deliberate in placing the short-throw projector a few feet away from the 80-inch screen in smaller rooms to avoid glare or a shadow. Standard-throw projectors in regular meeting rooms function best somewhere between 10 and 15 feet from the screen for 120-inch displays.
An auditorium, which is larger, will require longer throws to fill a 200-inch screen from, say, 30 feet or more. These differences underscore the value of precise calculation and planning.
Conclusion
The installation of a proper distance projection system requires some planning, but it is a relatively straightforward process. A throw ratio, screen size, and the inside shape can make a massive difference in the view that you gather.
The projector throw distance calculator can save time and eliminate the need for endless trial and error. After everything is measured, you end up with a crisper image and a foolproof scenario, whether for a class, meeting, or home movie night.